Reference diagrams
LETTER · Download PDF
A4 · Download PDF
Free original resources
Learn to draw a hill with a rounded peak, curved horizon, and sparse slope lines. Trace, grid, and complete practice sheets build careful observation.
Four original cases, with reference diagrams, practice sheets and worked answers. Everything is free; no signup required.
LETTER · Download PDF
A4 · Download PDF
LETTER · Download PDF
A4 · Download PDF
LETTER · Download PDF
A4 · Download PDF
Use A4 or US Letter to match your printer. Use the stated values and conditions to solve each exercise; diagrams are not physical measuring rulers.
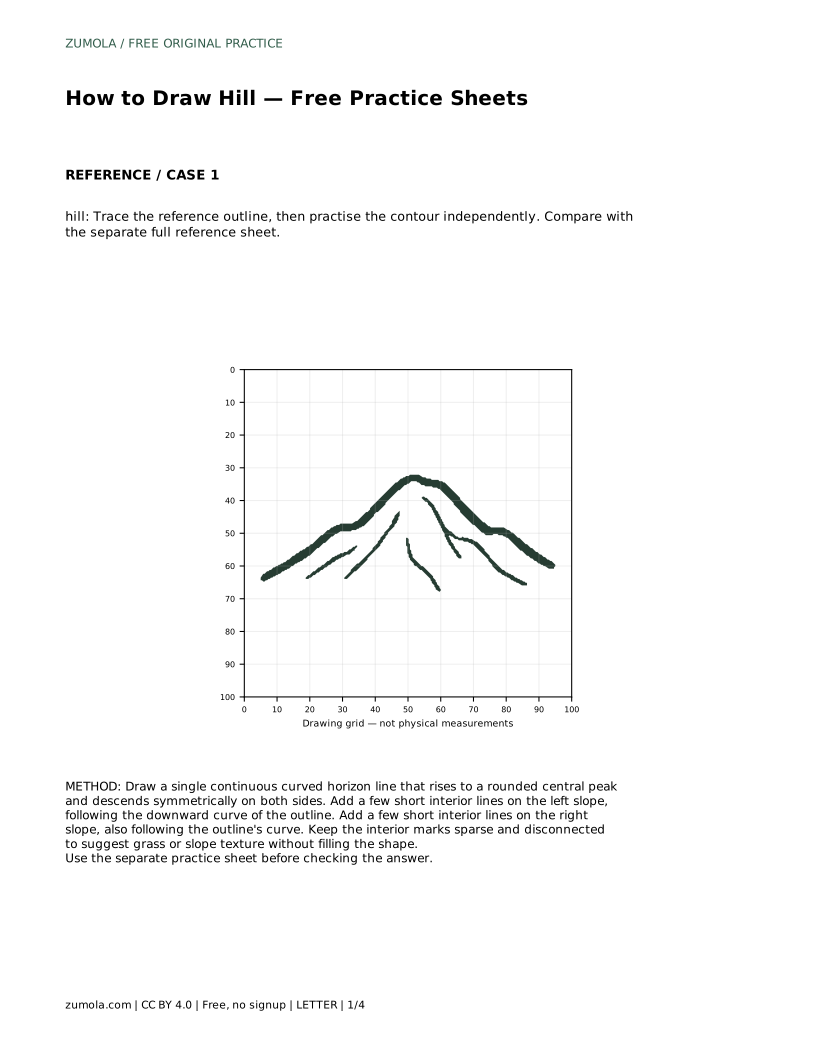
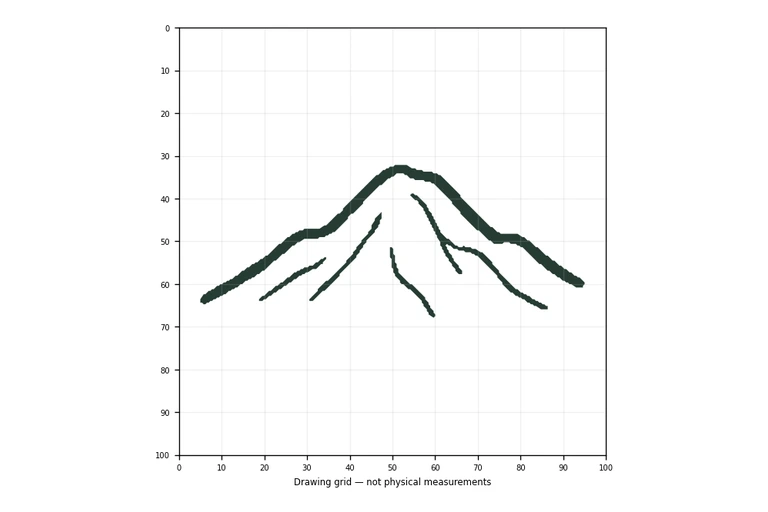
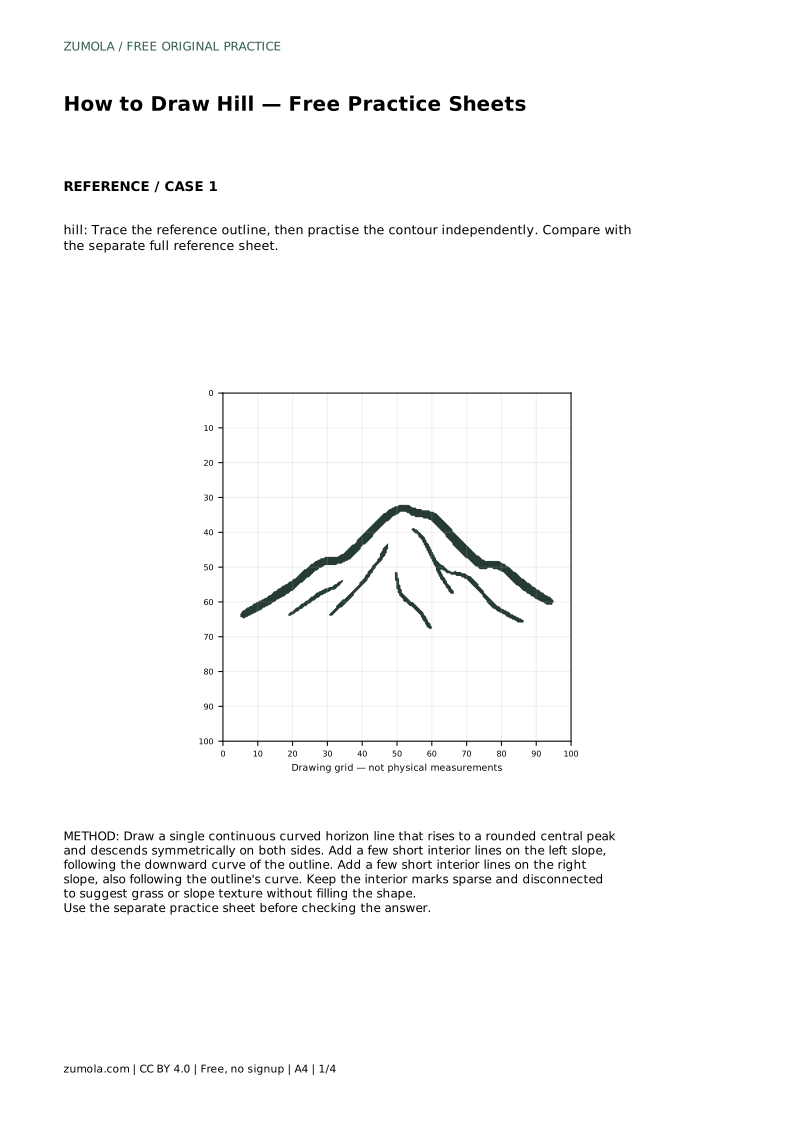
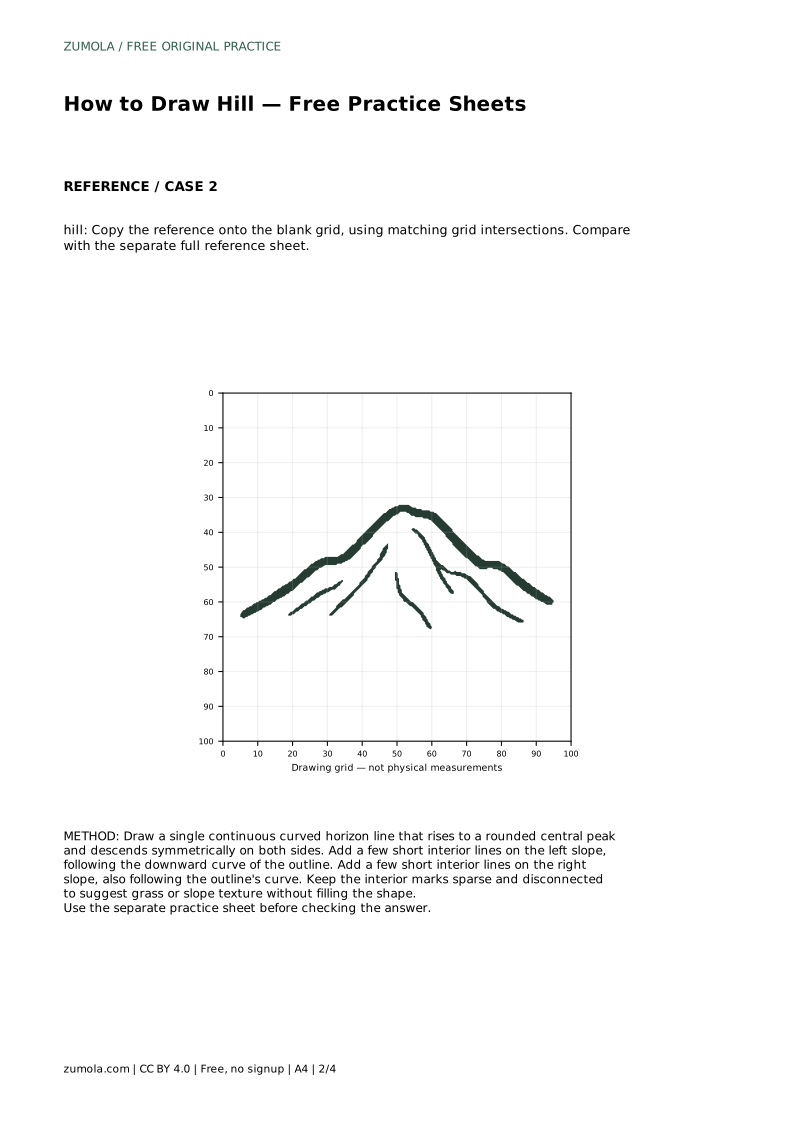
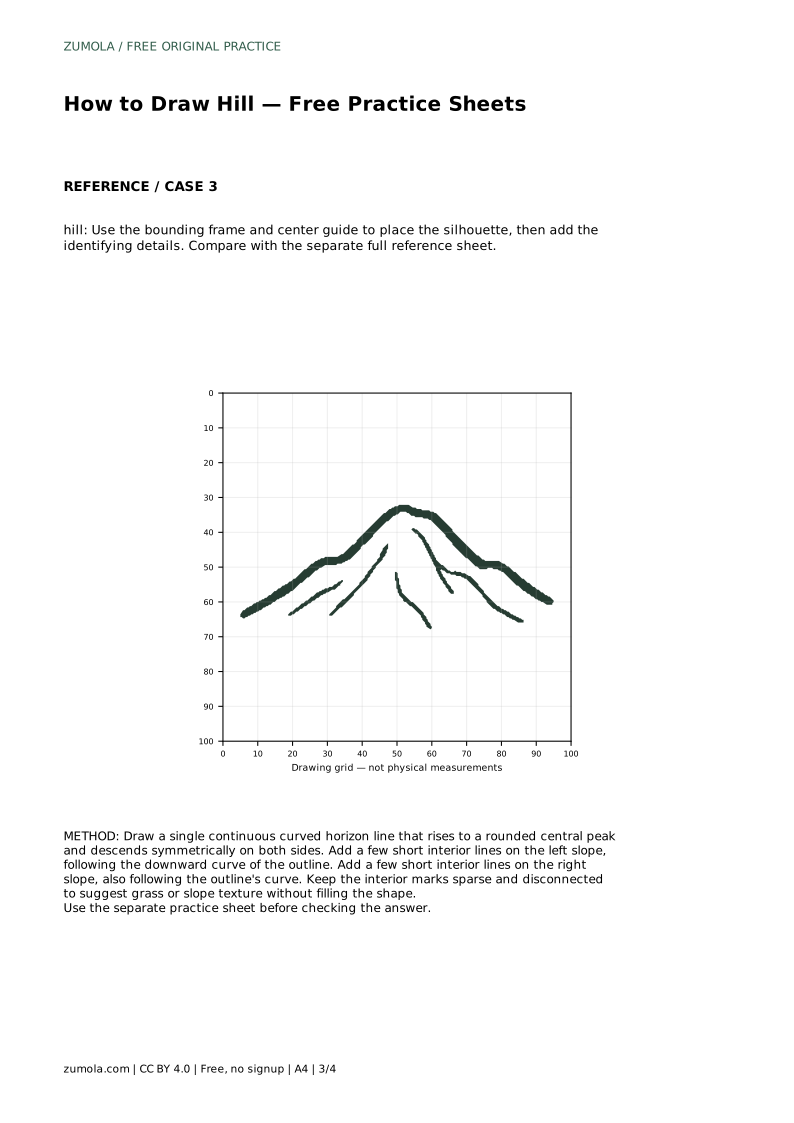
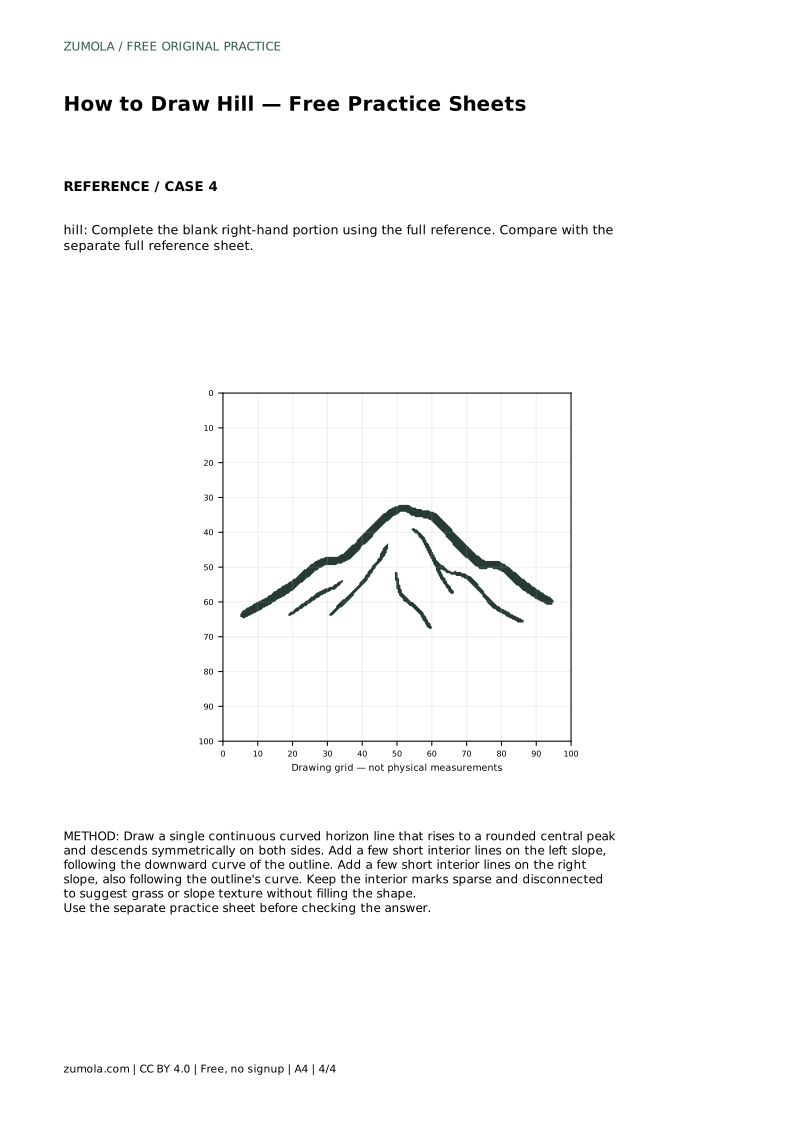
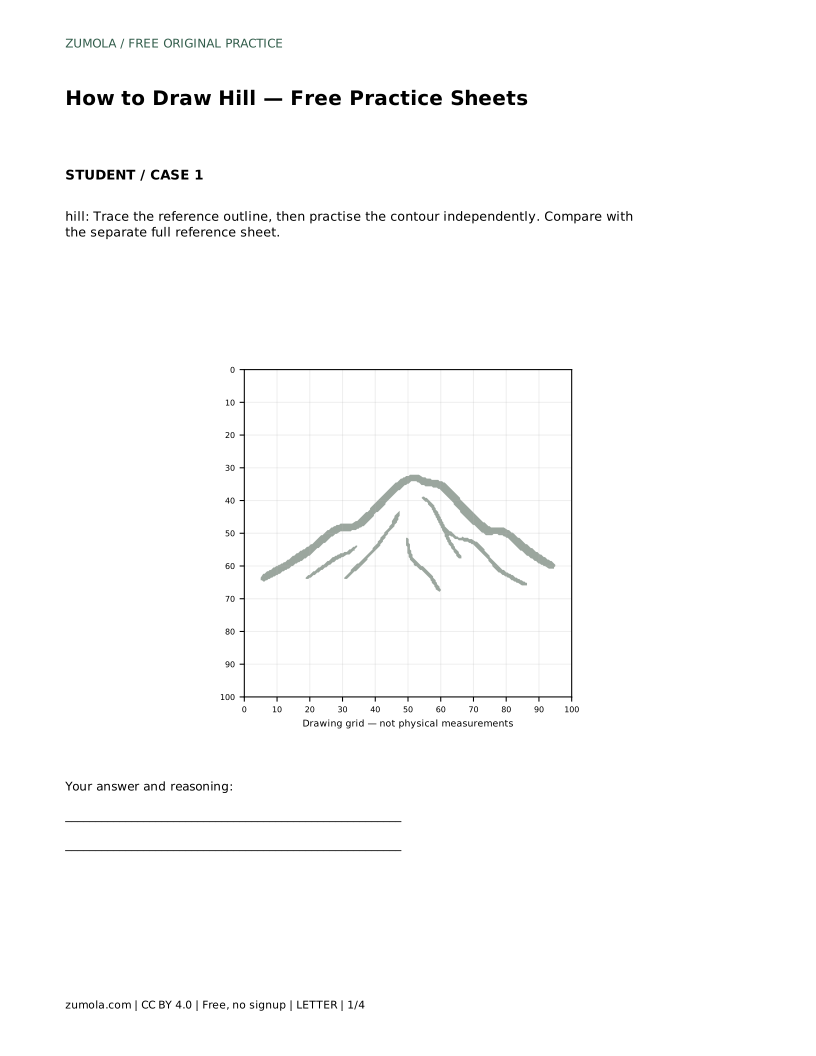
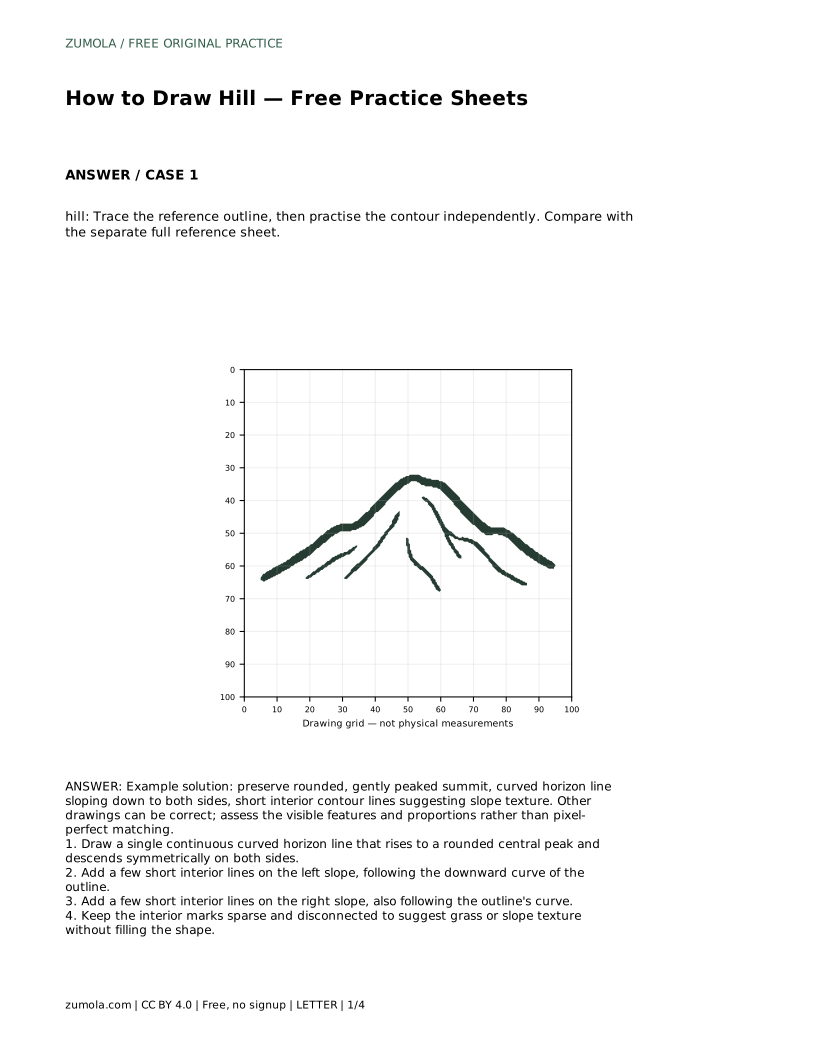
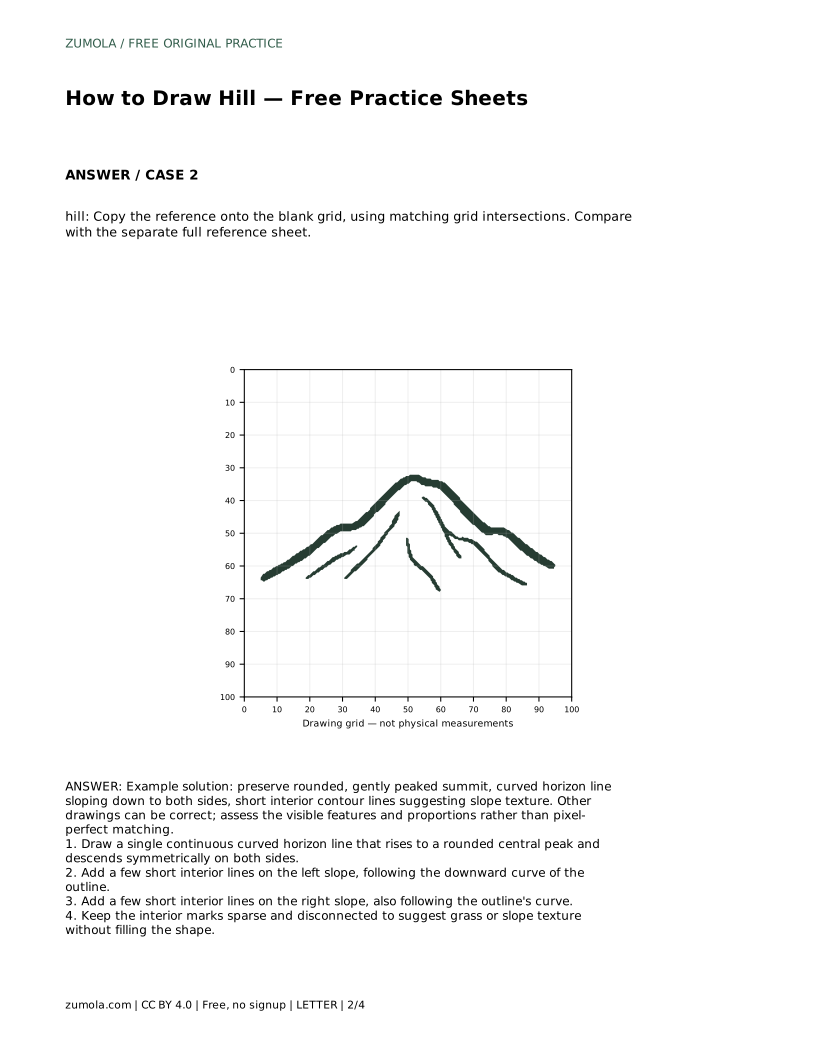
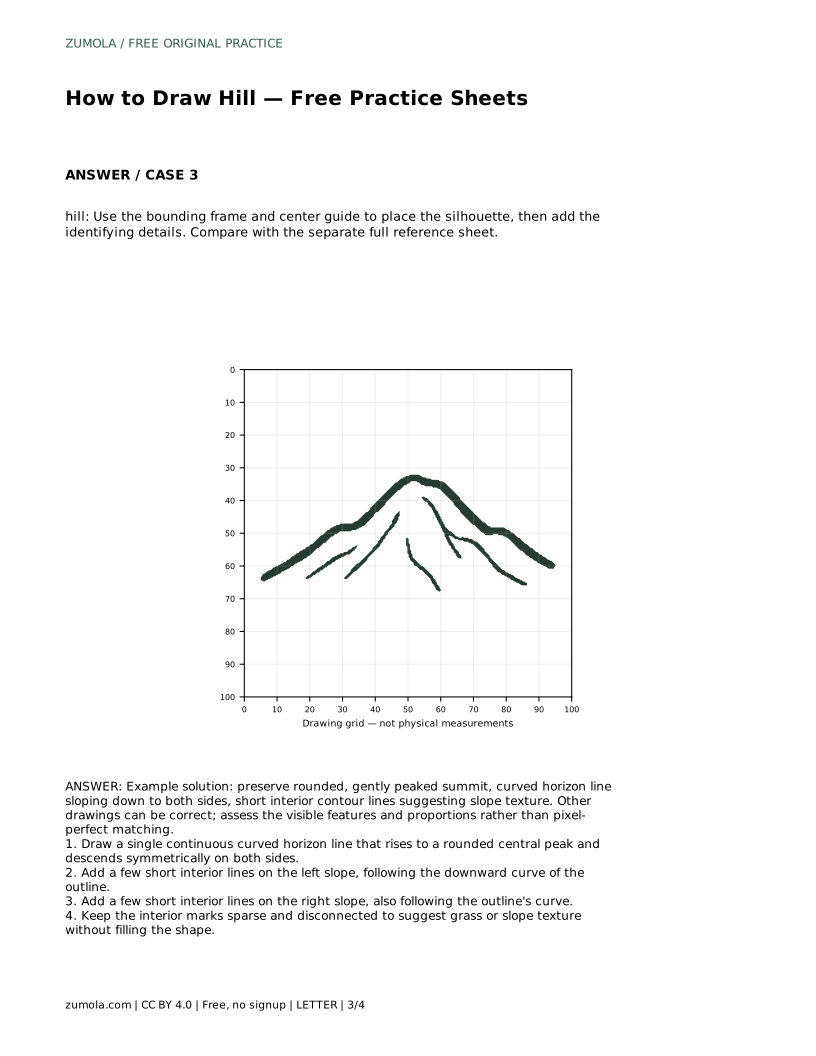
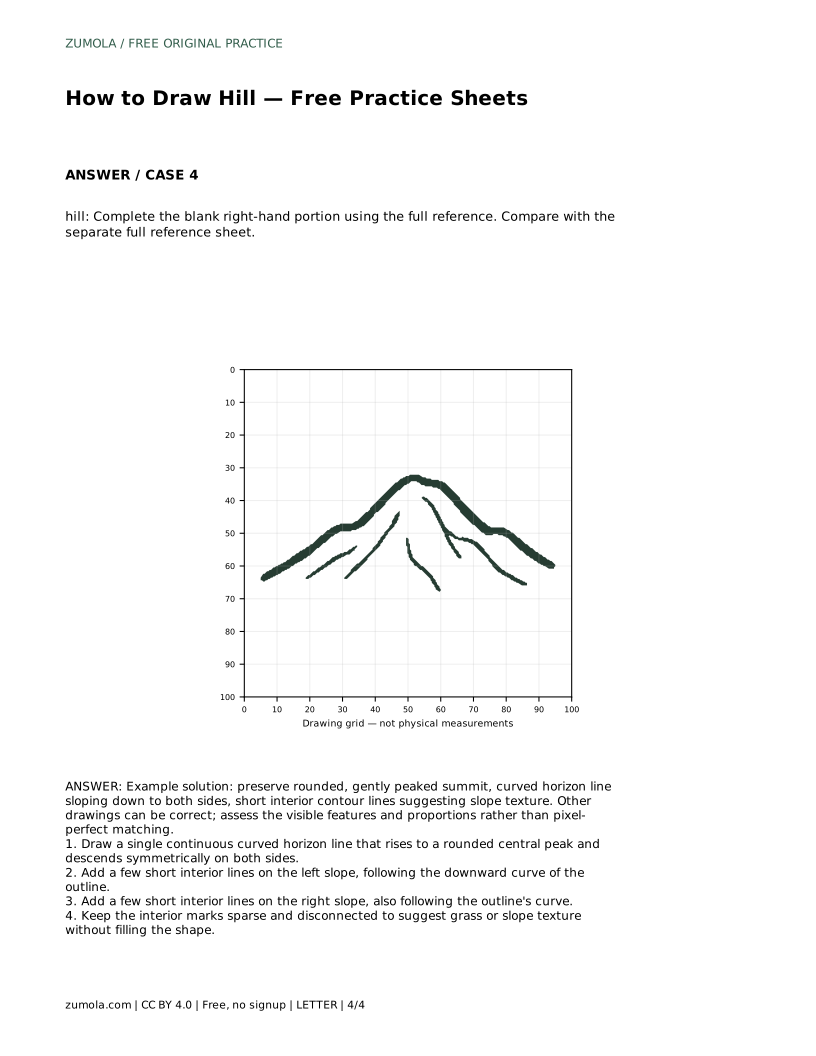
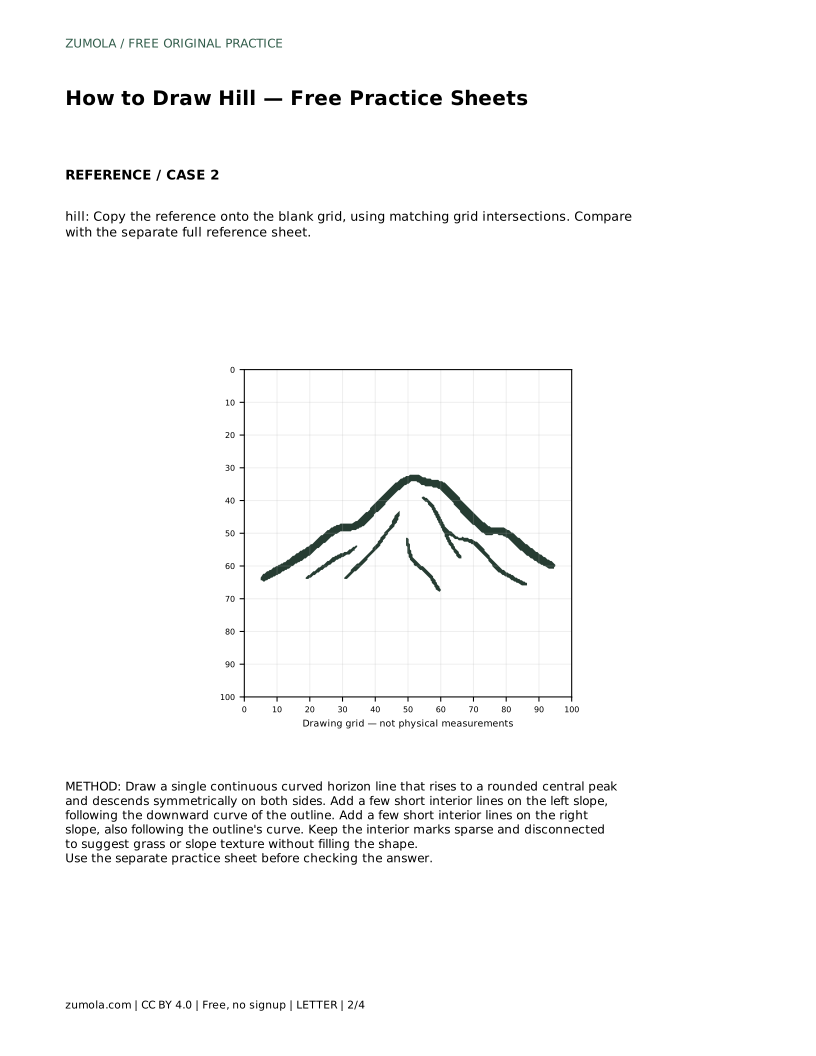
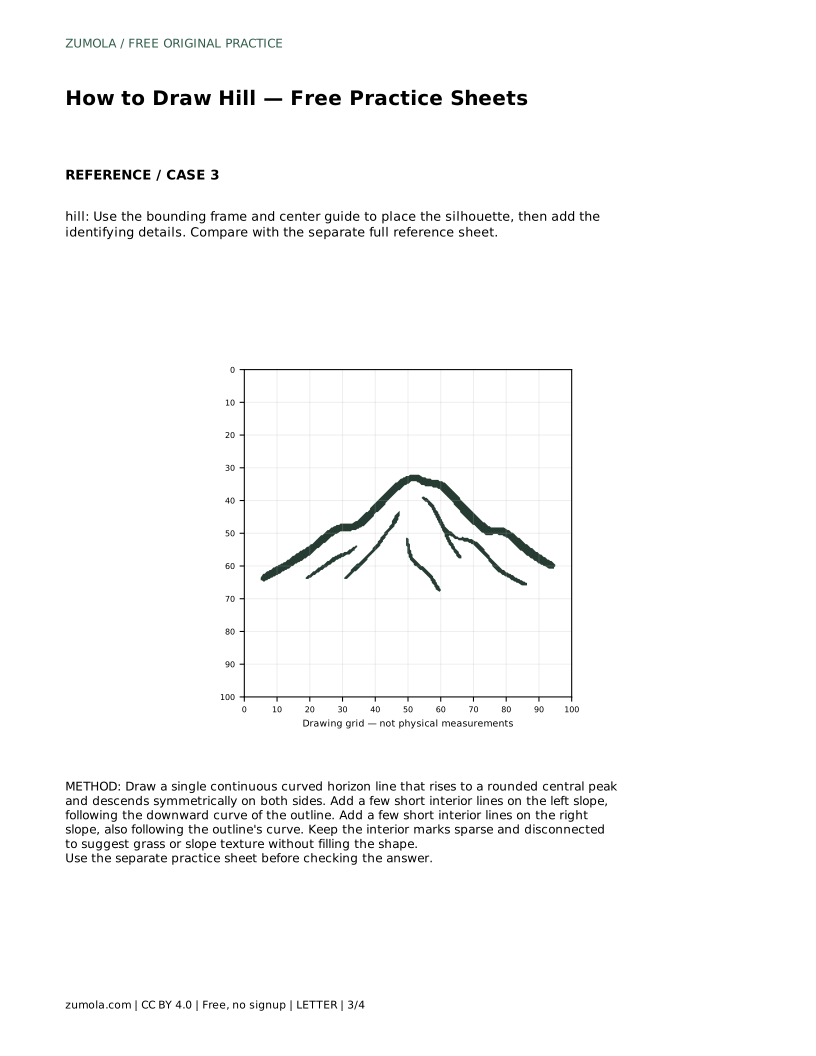
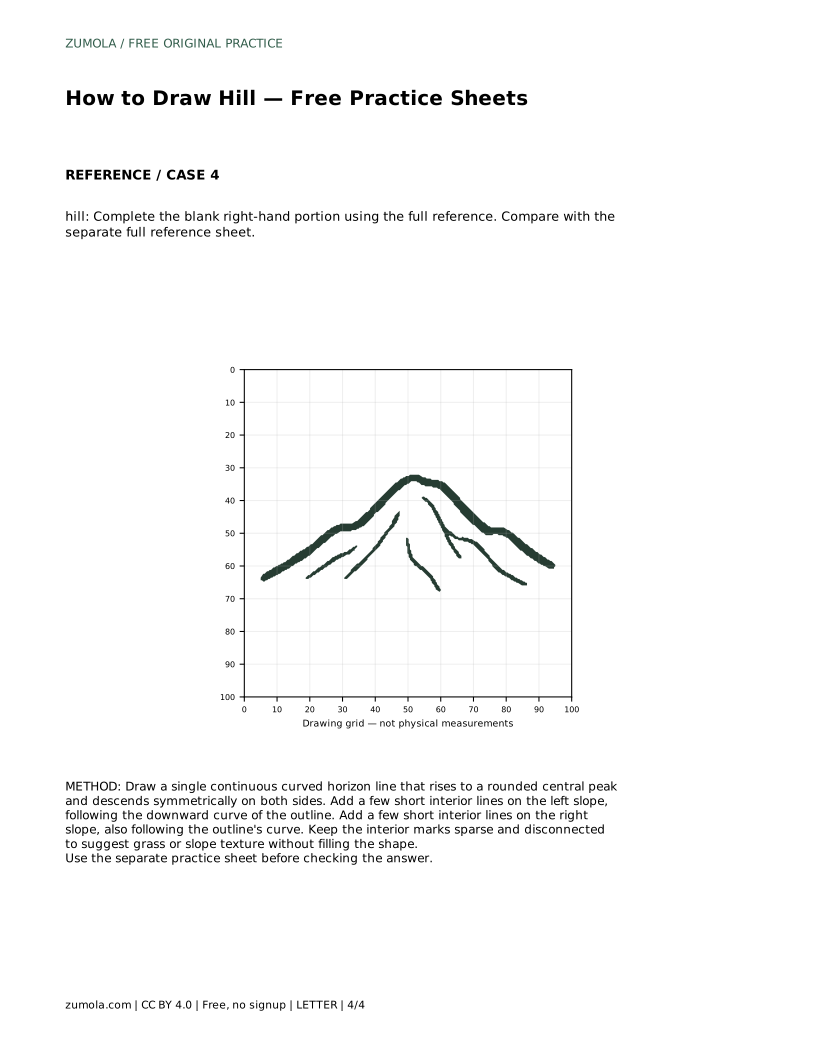
A hill looks simple, but its outline carries the whole drawing. The summit must feel rounded rather than pointed, the horizon must descend smoothly on both sides, and any interior marks should follow the slope instead of sitting flat. These free practice sheets let you trace a reference outline, copy it onto a grid, place it with a frame and center guide, or complete a partially blank version. Each task trains the same core skill: reading a curved silhouette and repeating it with control.
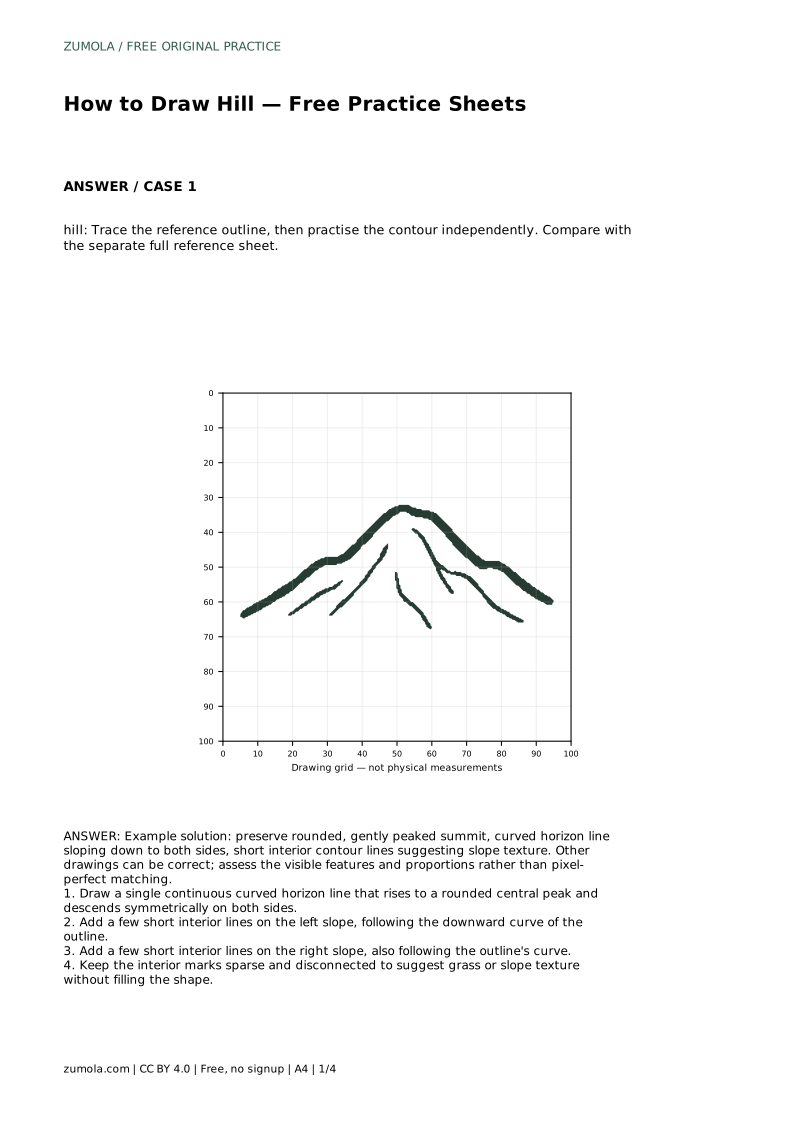
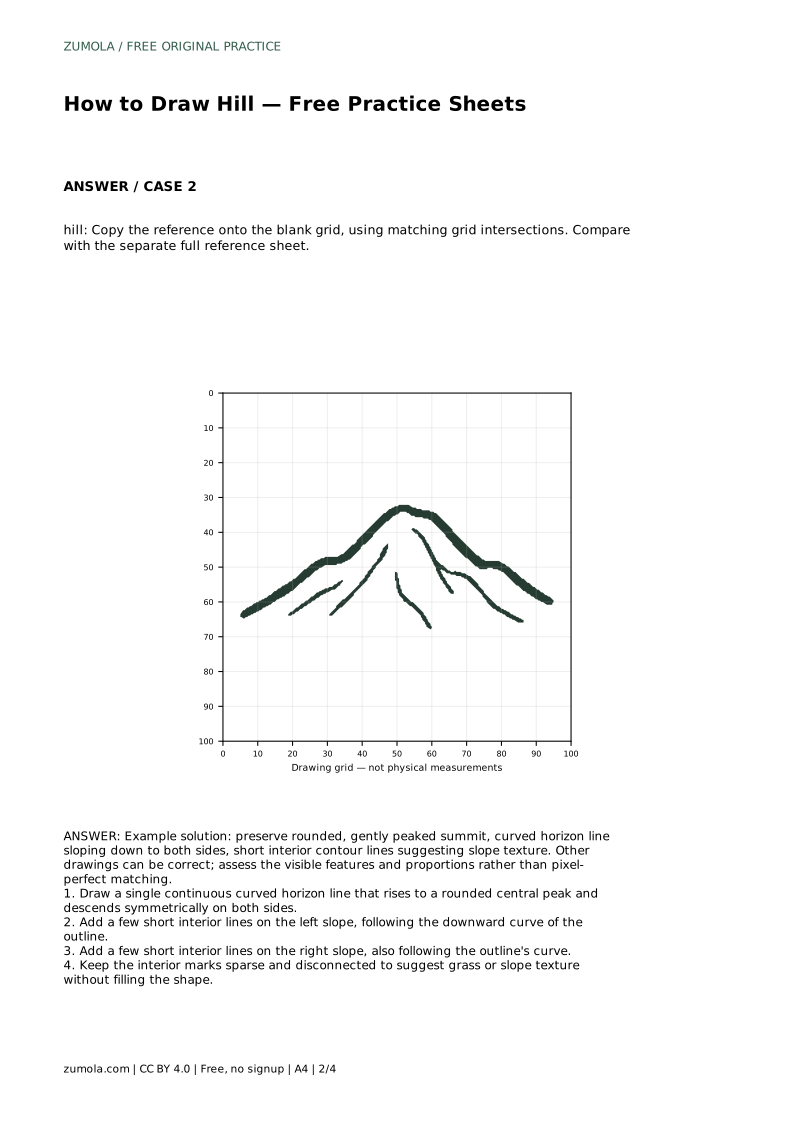
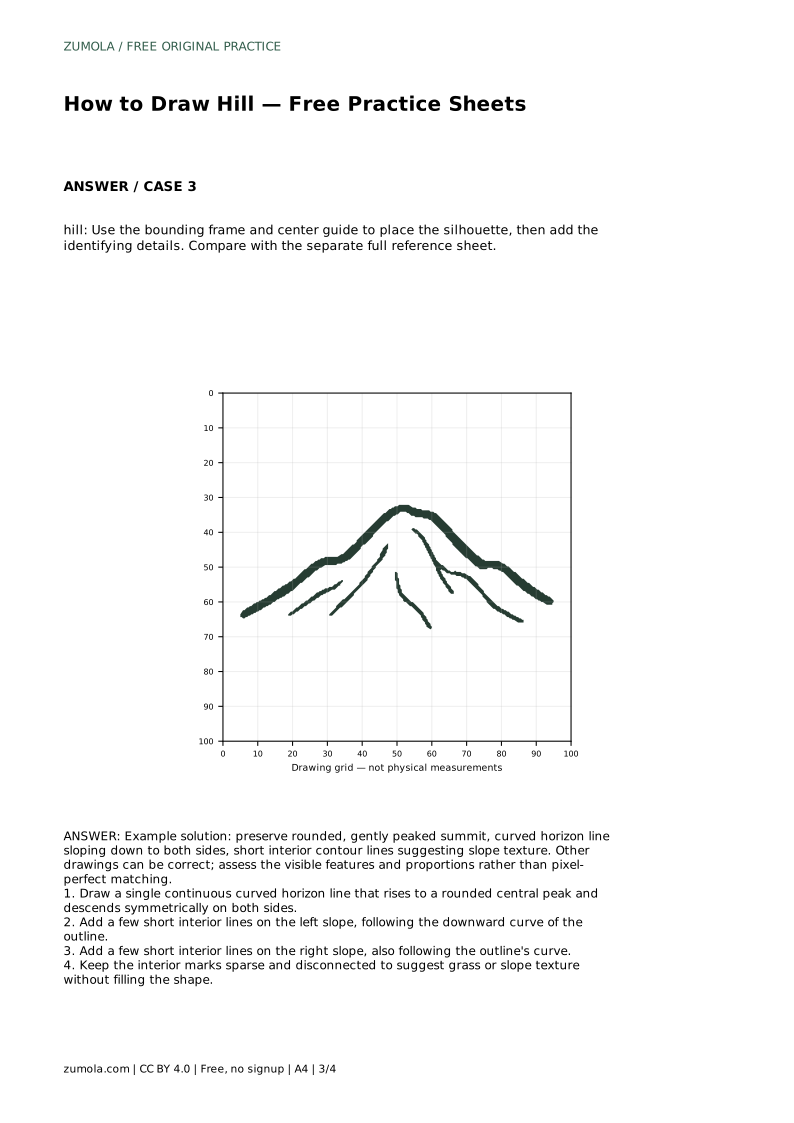
Every hill drawing begins with one continuous curved line. Think of it as the visible horizon: it rises to a gently rounded peak near the center and slopes down toward both sides. Draw it in a single motion if you can, because stopping and restarting tends to create corners or flat spots. A slight asymmetry is natural and acceptable; the goal is a smooth, believable curve, not a mechanically perfect mirror.
Before adding anything inside the shape, check the outline. Does the peak look rounded rather than sharp? Do both sides descend at a similar rate? If one side drops too steeply, redraw that portion rather than patching it with extra lines. The outline is the foundation, so spend your attention there first.
Interior lines suggest the surface of the hill. Keep them short, disconnected, and aligned with the direction of the slope beneath them. On the left slope, short marks should follow the downward curve of the outline; on the right slope, they should follow that side's curve. Sparse marks read as grass or gentle texture. Dense, parallel filling flattens the shape and makes the hill look like a solid block.
Leave plenty of empty space inside the silhouette. The outline already communicates the form, so interior lines only support it. A few marks near the middle of each slope are usually enough. Avoid drawing lines across the summit, since that area should stay open and rounded.
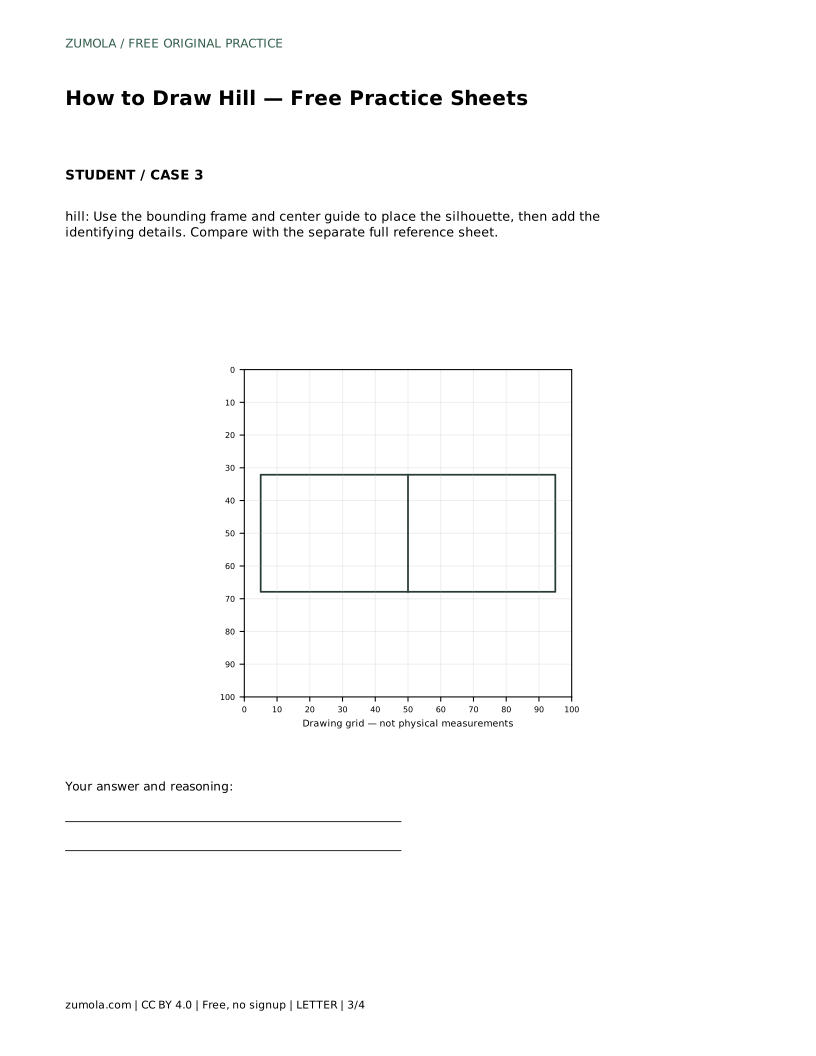
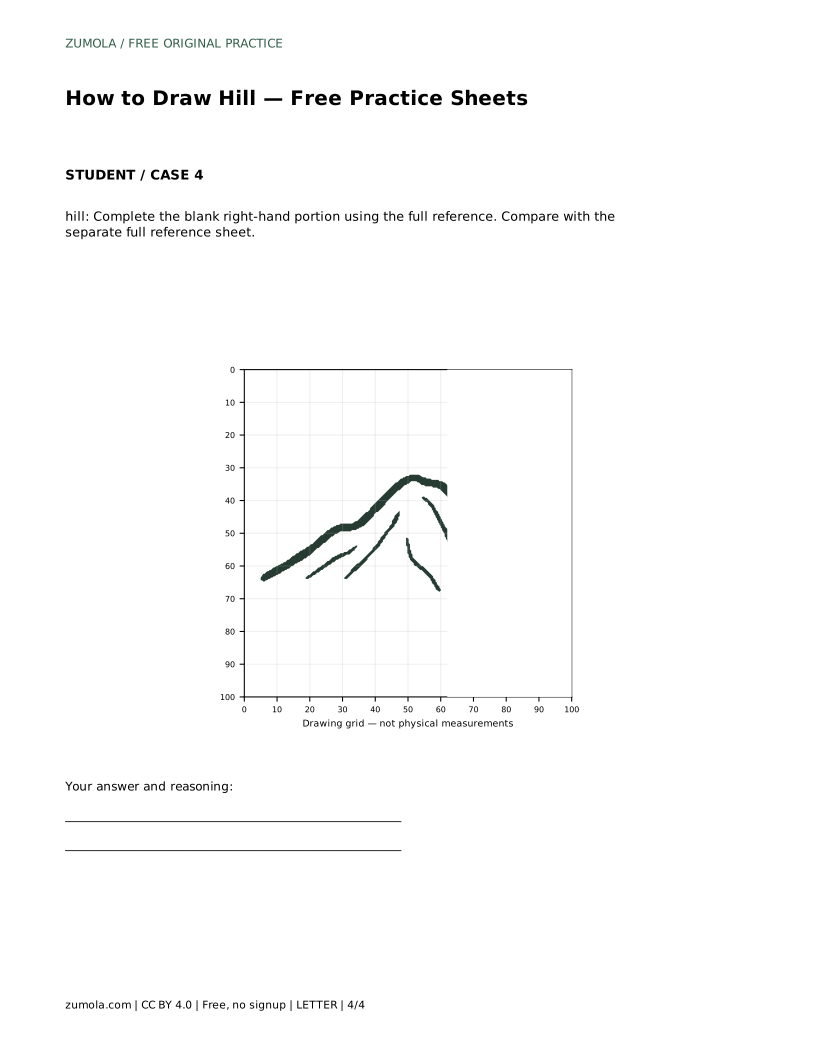
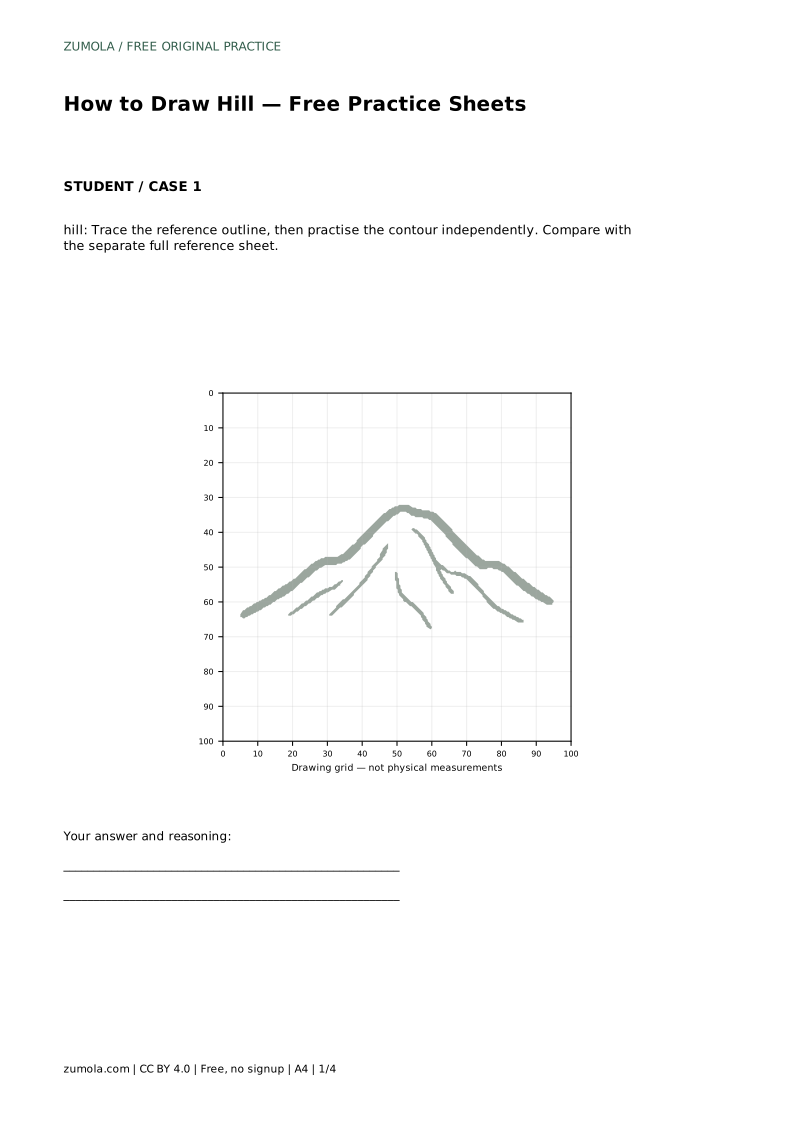
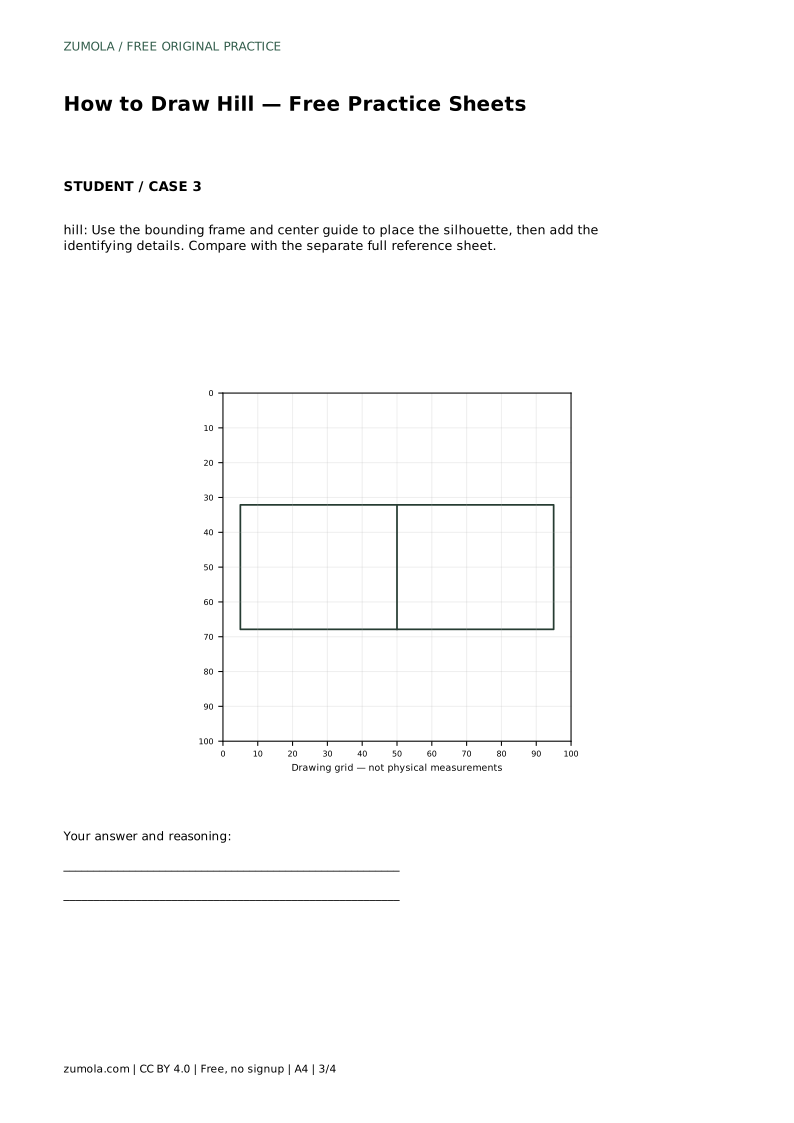
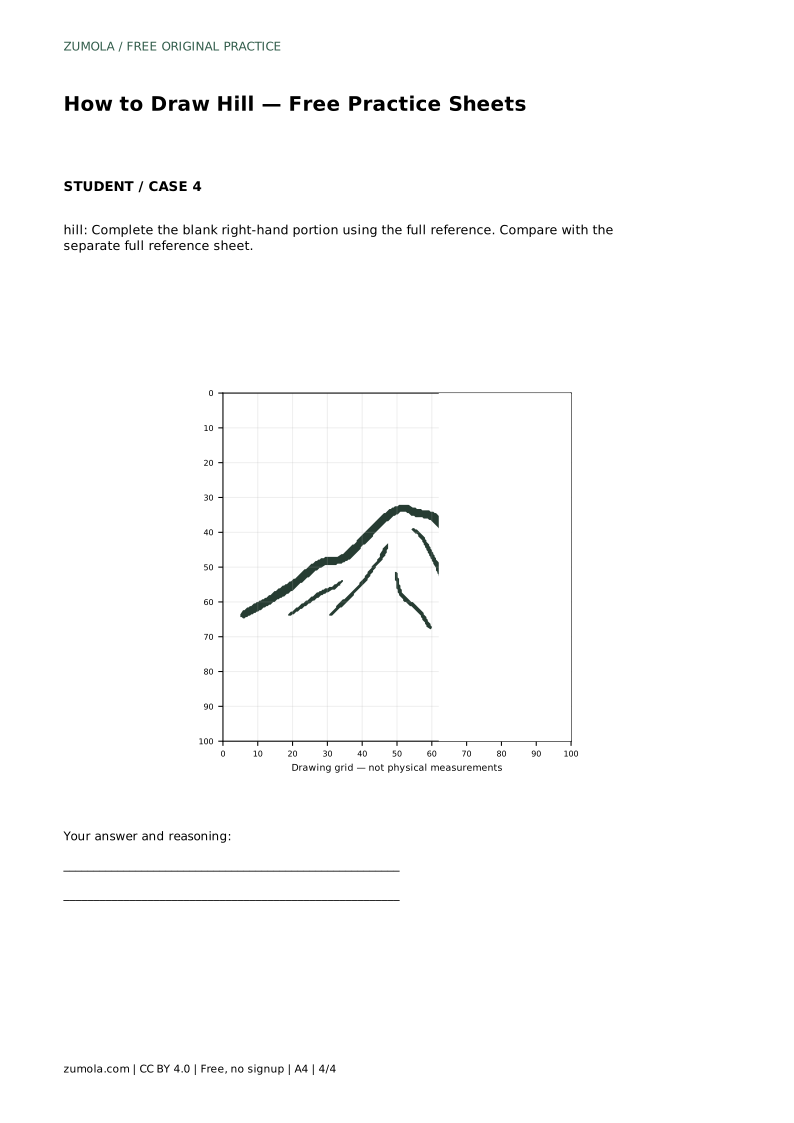
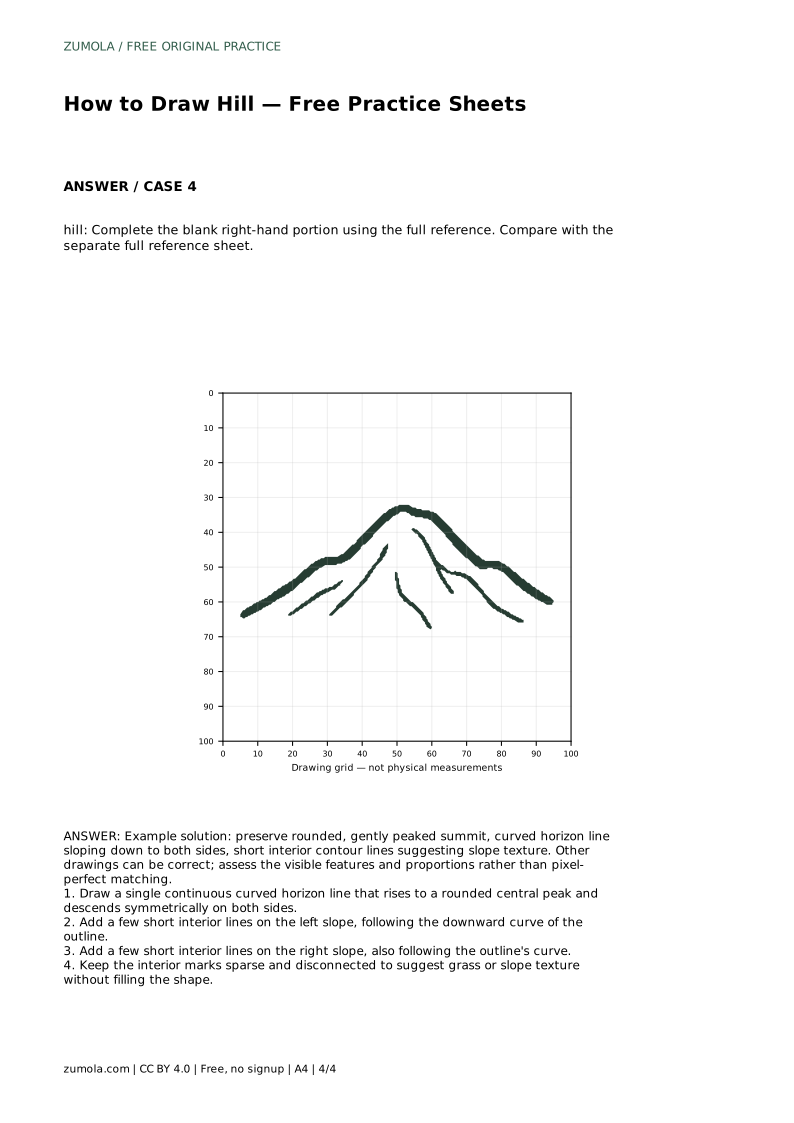
The trace sheet asks you to follow the reference outline first, then repeat it independently on blank space. The grid sheet asks you to copy the reference onto a blank grid, matching where the outline crosses grid intersections. The frame-and-center-guide sheet helps you position the silhouette before adding details. The partial sheet gives you the left portion and asks you to complete the right side using the full reference.
Each format isolates a different skill: tracing builds muscle memory, gridding builds proportion judgment, framing builds placement, and completion builds inference from a partial view. Compare your result with the separate full reference sheet afterward. Judge visible features and proportions rather than pixel-perfect matching, because more than one drawing can be correct.
A useful check is to look at your drawing from a short distance. The summit should read as rounded, the horizon should descend on both sides, and the interior marks should feel connected to the slope direction. If the hill looks pointed or lopsided, revisit the outline before adding texture. If it looks flat, reduce the number of interior lines rather than adding more.
Keep your pencil light until the outline is settled. Heavy early lines are hard to correct and encourage patching. Erasing a slope and redrawing it cleanly almost always produces a better result than stacking corrections.
hill: Trace the reference outline, then practise the contour independently. Compare with the separate full reference sheet.
Example solution: preserve rounded, gently peaked summit, curved horizon line sloping down to both sides, short interior contour lines suggesting slope texture. Other drawings can be correct; assess the visible features and proportions rather than pixel-perfect matching. Draw a single continuous curved horizon line that rises to a rounded central peak and descends symmetrically on both sides. Add a few short interior lines on the left slope, following the downward curve of the outline. Add a few short interior lines on the right slope, also following the outline's curve. Keep the interior marks sparse and disconnected to suggest grass or slope texture without filling the shape.
No. Preserve the rounded summit, the curved horizon descending on both sides, and sparse interior slope lines. Other drawings can be correct, so assess visible features and proportions rather than exact matching.
Place a few short marks on each slope, following the downward curve of the outline. Keep them sparse and disconnected, and leave the summit area open.
The grid sheet asks you to copy the whole reference onto a blank grid using matching intersections. The partial sheet gives you one completed side and asks you to finish the other using the full reference.
All drawing practice · Free coordinate paper
Original resources · CC BY 4.0 · Free for personal and classroom use with attribution.